

GitLab
Connect your GitLab repository to Mintlify for automated documentation deployments, merge request previews, and continuous synchronization.
Mintlify uses access tokens and webhooks to authenticate and sync changes between GitLab and Mintlify.
- Mintlify uses access tokens to pull information from GitLab.
- GitLab uses webhooks to notify Mintlify when you make changes, which enables preview deployments for merge requests.
Set up the connection
Section titled “Set up the connection”When you open Git Settings for the first time, a setup wizard guides you through connecting your GitLab repository.
Select GitLab as your provider
On the Git Settings page, click Connect to GitLab and then click Continue.
Download your content
If Mintlify hosts your documentation, download it as a zip file.
- Create a new repository in GitLab.
- Extract the zip contents.
- Push the contents to your repository.
Click Continue setup to proceed.
Find your project ID
In your GitLab project, navigate to Settings > General and locate your Project ID.
Generate an access token
Navigate to Settings > Access Tokens and click Add new token.
Configure the token with these settings:
- Name: Mintlify
- Role: Maintainer (required for private repos)
- Scopes:
apiandread_api
Click Create project access token and copy the token.
Connect your repository
Back in the setup wizard, fill in the following fields:
- GitLab instance URL: Leave blank for
gitlab.com, or enter your self-hosted instance URL (for example,https://gitlab.your-domain.com). Your instance must be publicly accessible for Mintlify to reach it. The URL must usehttps://on the default port 443 and can't include a username or password. - Project ID: The project ID from your GitLab project settings.
- GitLab deployment token: The access token you generated.
- Branch: Select the branch to deploy your documentation from.
Click Connect.
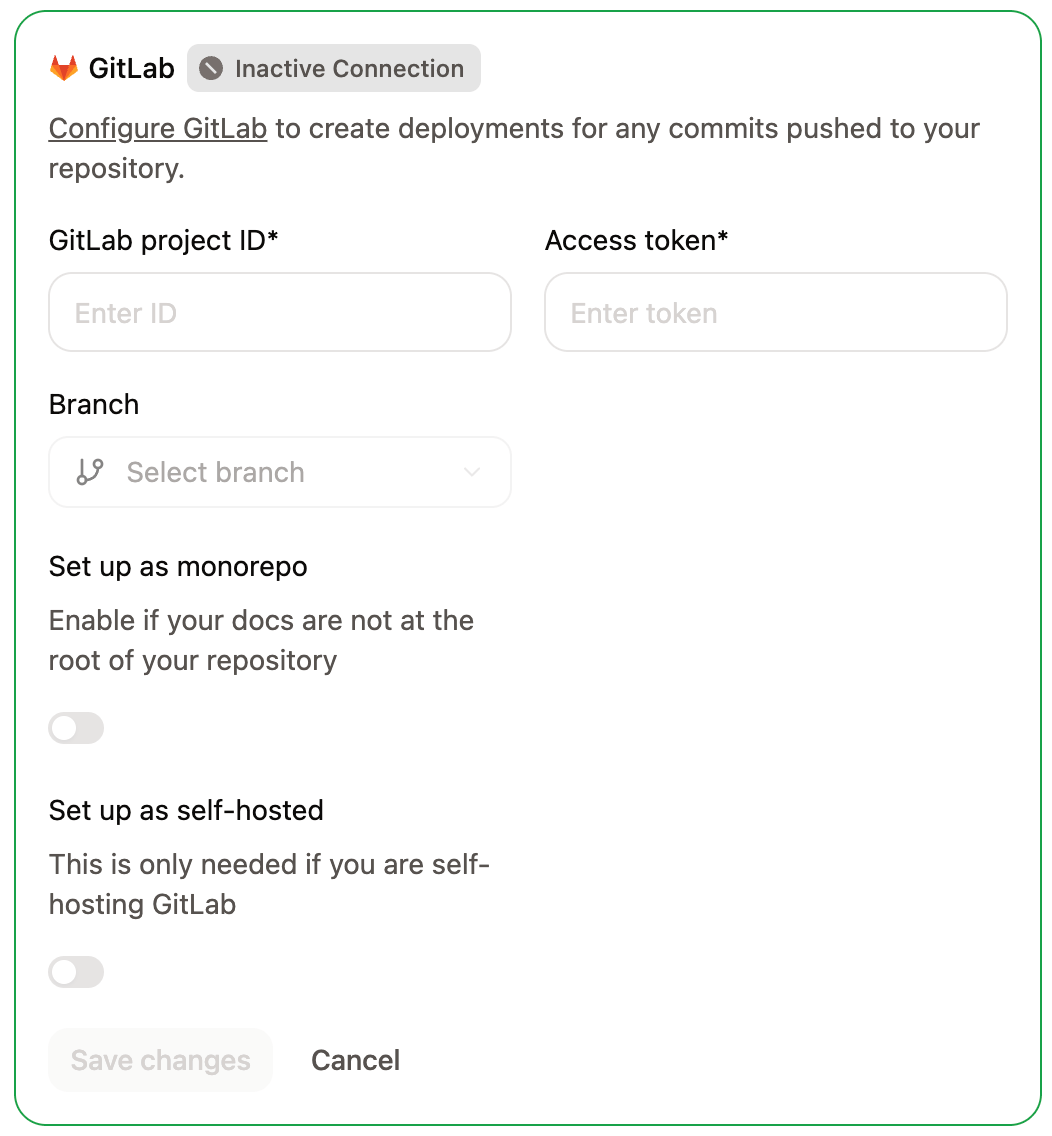
- GitLab instance URL: Leave blank for
Update an existing connection
Section titled “Update an existing connection”To modify your GitLab connection settings after the initial setup, go to Git Settings and update your project ID, access token, branch, or instance URL directly.
Revalidate Git settings
Section titled “Revalidate Git settings”If your project shows unexpected behavior, such as missing branch options or stale configuration, you can force Mintlify to refresh your Git source.
Revalidate your settings
Click the green Active badge in the corner of the GitLab settings box to revalidate your Git source.
Create the webhook
Section titled “Create the webhook”Webhooks notify Mintlify when you push changes so that deployments trigger automatically.
Add new webhook
- In GitLab, navigate to Settings > Webhooks.
- Click Add new webhook.
Set up URL and webhook
Name the webhook Mintlify.
In the URL field, enter the endpoint
https://leaves.mintlify.com/gitlab-webhook.Get the webhook token
In your Mintlify dashboard, click Show webhook token. Copy the webhook token.
Paste the webhook token
In GitLab, paste the webhook token from your Mintlify dashboard in the Secret token field.
Select events
Select the following events to trigger the webhook:
- Push events (All branches)
- Merge requests events
Verify the webhook
You should see the following settings after configuring the webhook:
- Name: Mintlify
- URL:
https://leaves.mintlify.com/gitlab-webhook - Secret token: The webhook token from your Mintlify dashboard
- Events: Push events (All branches) and Merge requests events
Add the webhook.
Test the webhook
After you create the webhook, click the Test dropdown. Click Push events to send a sample payload. If the test returns
Hook executed successfully: HTTP 200, you configured the webhook correctly.